We must all produce high-quality videos for social media, YouTube, and other video streaming sites. If you are a content creator seeking the finest technique to improve your room lighting so that you can have a soft light impact on your body, here is the place to be. Continue reading the post for some useful advice.
That being said, if you’re shooting indoors, there are a few tips I’d like to give you on how you can get the best look possible with things lying around your house.
Simple Daytime Lighting
So let’s say that you’re in a room where you have plenty of daylight coming in through a window. Should be easy to shoot, right? Well here’s the thing. If you have everything placed the wrong way it can look pretty bad. The good news is with the right placement, we can fix all of this. Let me show you how.

I recommend placing your camera between yourself and the window. If direct sunlight is entering your room, you should try closing your blinds or curtains to avoid that harsh light coming into the room.
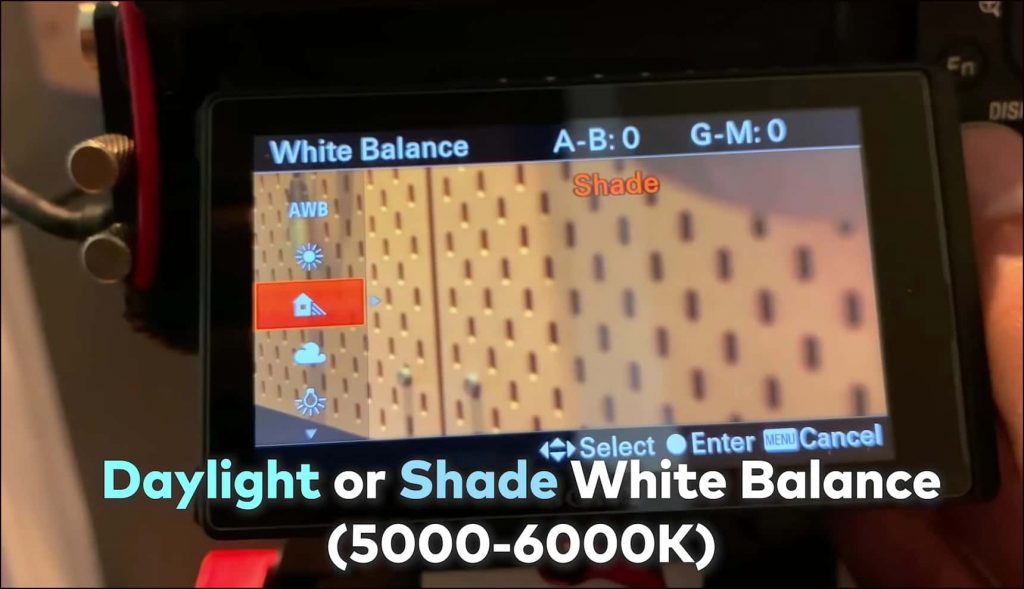
Speaking of which I recommend you set your white balance to “daylight” or “shade”; this will help the color come through properly. Aside from that, make sure that you expose things right. You don’t want to be overexposed, especially if you’re a pale guy like me. What I like most about this setup is the fact that you just need the Sun to be up during the day, which tends to happen, and you just need a window and you’re set.
But let’s say you’re in a situation where you’ve got some daylight coming into your room, but you can’t really use it as your main light source. That’s actually the case with our studio upstairs, so let me take you through how that works.
Mixing Outdoor and Indoor Lighting
So if your studio looks like it has no lights on. You should shoot videos where you have at least a window but If you can’t really put your camera between yourself and that window. There’s a bit of a drop-off and you can use your computer light.

You will get some nice edge lighting behind you, and nice and separated off of the backdrop, but if you are still not able to see your face clearly, how are we going to solve that? We can put a lamp into and you can kind of use it as a softbox. But if you don’t have something like that there’s an even simpler solution. Instead, You should take a regular lamp that in my case is daylight-balanced.
Finally, let’s take a look at a simple indoor lighting setup that you can use after the sun goes down.
Editing: How to use Motion Tracking on FCPX | No Keyframe Requires
Lighting Setup at Night
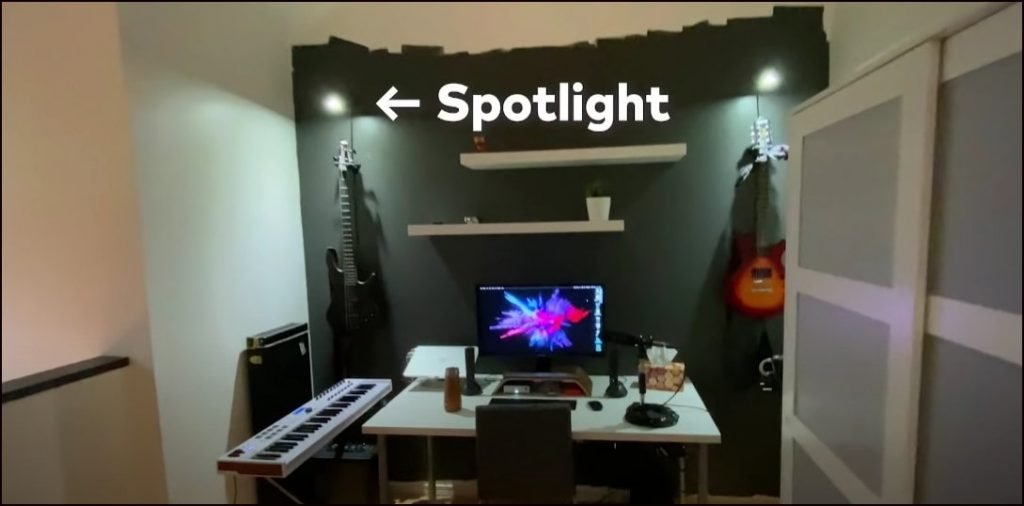
So you have a nice dark room, there isn’t much daylight coming in to interfere, so all you have to do is turn on your lights and you’re ready to shoot, right? Not so fast you could shoot like this, and if you have OK lighting setup. You have got a few lights behind you and it’s pretty good, but In case you don’t have much light in front of you. We could also take another light of yours which is more of a spotlight and let’s see what it looks like we shine this at you.

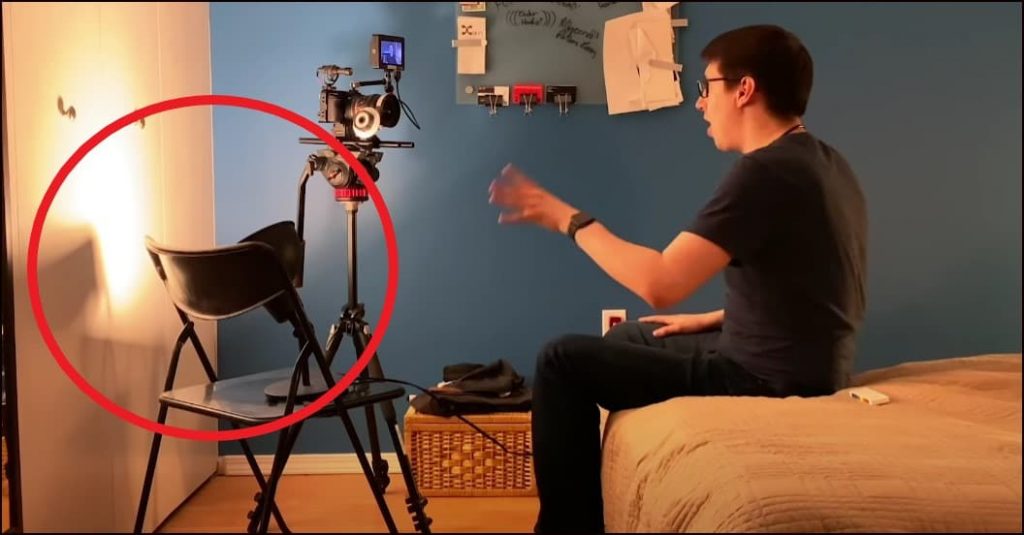
A simpler solution would be to take light and just turn it around and shine it at the wall or ceiling right behind the camera. We now have a really nice soft light source hitting you; it will give you this really flattering look and not a lot of shadows.
So it’s a combination of a nice soft light source in front of you like we’ve been saying before and maybe some lights behind us in this case to give us a little more depth and it gives us a look we like.
So that’s a look at three different lighting setups that you can pull off in your own home. A couple of last notes I’d like to add are: Make sure to properly expose your camera, make sure to use the right white balance, and try not to shoot just against a white wall… it can look really bland and really unprofessional.
Also Read: How to Produce Professional Voiceover and Audio Recording
Does this give you any ideas on how you’d like to light your videos at home? Let us know in the comments down below.
My kinemaster is can’t open