How you could pull off professional sounding voice overs in your videos.
We’ll first take a look at a few ways that you can record your audio including FilmoraPro’s new voiceover feature, and then later on we’ll use some audio effects to get a good mix. Before we get into it. You should download the Filmora video editor on your PC.
Audio Recording Methods (Choose Correct Mic)
There are a few different ways you can record voiceovers for your videos. First, there’s the way I do mine: I use a condenser microphone which is plugged into a Zoom or Tascam recorder just like this.
The audio gets recorded onto an SD card right in here which we can pop out and import right into my project. It allows you to record anywhere you want separate from your computer. That being said, it does get a little annoying sometimes when you have to change batteries from your recorder.
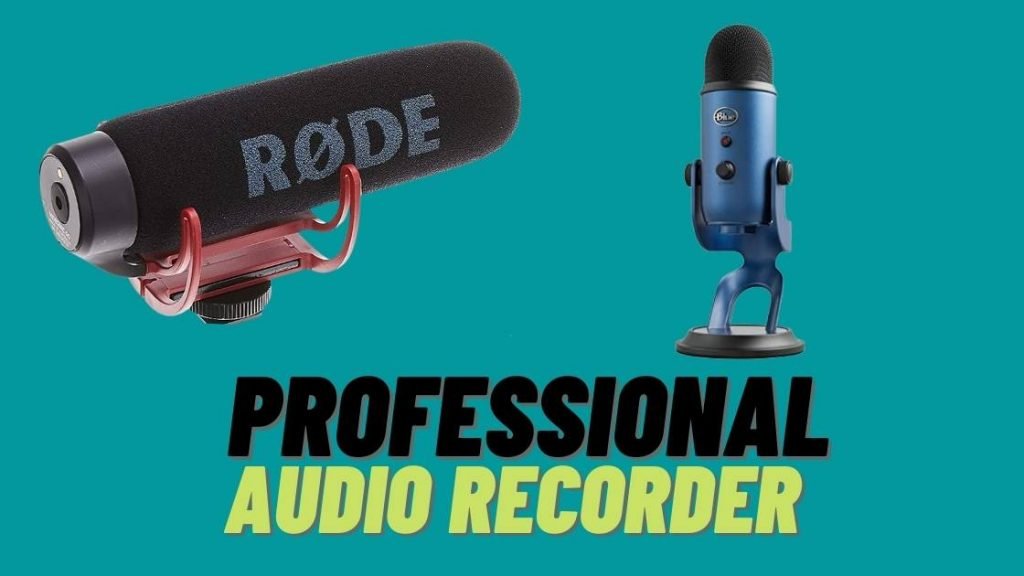
A simpler option for voiceover recording is right in FilmoraPro’s new voiceover feature. This option is great because it allows you to record voiceover right into your FilmoraPro project provided your computer has a microphone. In my experience, built-in microphones on computers aren’t the greatest so if you’re recording with this method, i highly recommend that you use a USB mic from a brand like RØDE or Blue.
Assuming you’re happy with the mic that you’re using, let’s take a look at the voiceover recording feature in FilmoraPro.
Record VoiceOver in FilmoraPro
To record voiceover right in FilmoraPro, first place the playhead where you want to start, then go to the media panel and click on “new” > “voiceover” In the pop-up window, select your input device, choose your input volume, preferably a level that doesn’t overload this meter down here, and click the “mute playback” button if you’re not wearing headphones while recording.

Finally, click this big red button to start recording. Once you’re done, click the red button again and it will be available in the timeline and media panel. If you want to learn more about this feature in FilmoraPro, make sure to check out our voiceover articles.
Also Read: How to use Motion Tracking [Simple Method]
Audio Mixing
Regardless of the mic or recording setup that you use, you might still not be happy with how your voice sounds. Don’t worry though, this is perfectly natural for two reasons: first of all, since we’re humans with skulls that reverberate as we speak, we’re not necessarily used to how our voices sound to other people. It’s extremely natural not to like the sound of your own voice. So if you don’t like the sound of yours, don’t be discouraged. The second reason you might not like the sound of your recording is that your voiceover audio isn’t mixed yet.
Let’s take a look at some ways you can mix your audio in FilmoraPro.
So we have recorded audio in the timeline, and the first thing I’ve noticed is that it’s really quiet.” This is because when I record, I like to keep my levels relatively low to prevent accidental overloading or distortion in the sound. We could simply increase the audio levels by raising this white line here, but i’m going to try something a little more sophisticated, let’s add the “compressor” effect.
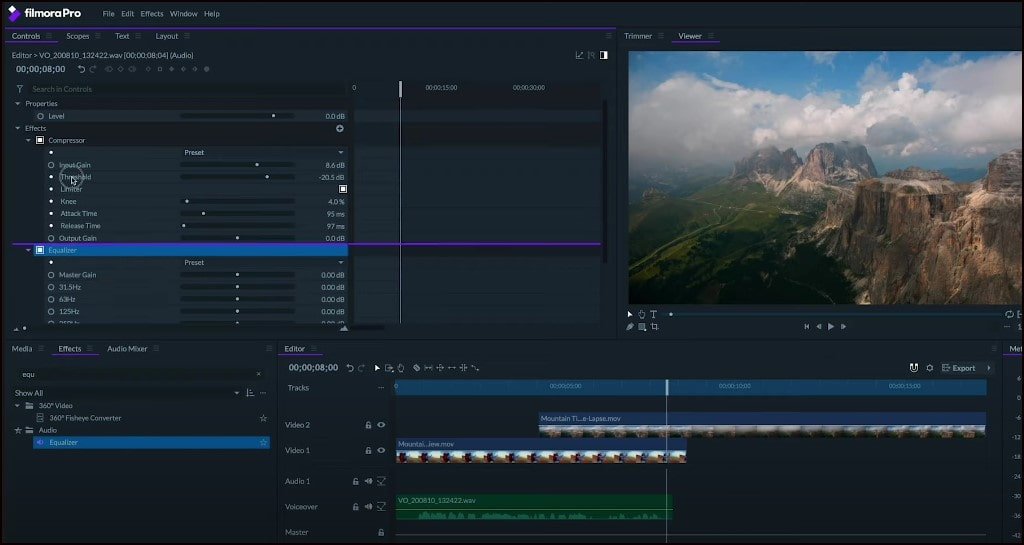
The compressor can do a ton of things including adjust audio levels, even out the loud and quiet parts of my voiceover, and prevent itself from overloading the audio. I’m first going to select the preset “radio voice“, then increase the input gain.
We want to increase it until our audio levels in the meters panel gets close to zero decibels.” Next, i’m going to check the “limiter” box. This will stop anything from accidentally overloading.
This sounds a lot better, though I’m noticing that my voice sounds pretty boomy. We can fix this by adding an equalizer effect and we’ll place it above our compressor in the effects panel just like this.
I’m going to start by using the simple “bass cut” preset to tame some of our lower frequencies. and then I’ll make some further tweaks if I’m still not happy. The lower numbered frequencies are the more bassy tones, while the higher-numbered ones are the harsher treble aspects of my voice.
Finally, if you’re adding music to your videos, make sure that you lower or duck the volume while your voiceover is going on. i like to lower mine to about negative 20 decibels to be safe. If you want to learn more about the audio mixing tools in FilmoraPro, read more posts.
Also Read:
- (Motion Tracking) Stick Text & Effects to Moving Objects
- Create a Free Photo Slideshow Video with Music
So that’s a look at how you can do voice-over recordings in FilmoraPro. Do you have any other audio-related questions about FilmoraPro? Let us know in the comments down below.